


Last Updated: November 16, 2026
Quick Summary
In dilation care, P2 meaning is the second dilator in a graduated set, the size that comes after the smallest one. P2 is a step in a progression, not a diagnosis, and it typically comes into play once the first size feels comfortable and predictable.
- P2 is practical shorthand used by clinicians, therapists, and product makers, not a medical term.
- Move up a size only when the current one inserts easily with gentle pressure and no pain.
- Keep sessions short: a few minutes of gentle insertion and holding is a complete session.
- VuVa sizes 1 through 4 form the smaller beginner progression, and Size 1 has no magnet.
- Pause and talk to a clinician if you have unexplained bleeding, infection signs, or pain lasting hours.
Table of Contents
- P2 Meaning: What the Term Refers to in Dilation Care
- What Does P2 Stand For in a Pelvic Wellness Routine?
- A Clear P2 Definition and How It Fits Size Progression
- How to Build a Comfortable Dilation Routine at Home
- Which VuVa Magnetic Dilator Set Should You Start With?
- When to Pause and Talk to a Clinician
- Finding Your Comfortable Starting Size
- Frequently Asked Questions
P2 Meaning: What the Term Refers to in Dilation Care
If you have been handed an image of the purple wand: it is set or a pelvic floor therapy plan and seen the label "P2," you are probably wondering what it actually means. In dilation care, P2 meaning is simple: P2 refers to the second dilator in a graduated set, the size that comes after the smallest one. It is a step in a progression, not a diagnosis.
I created VuVa in 2014 after my own years of vulvodynia and painful intimacy, and since then I have talked with many people staring at a set of dilators feeling overwhelmed. The labels are often the first confusing part. So let me clear this up early: P2 is shorthand for "the second size," and understanding it is the key to pacing yourself without fear.
What Does P2 Stand For in a Pelvic Wellness Routine?
In a pelvic wellness routine, P2 stands for the second size in a graduated dilator series. If your set is numbered 1 through 7, P2 is the dilator just above the smallest, and it typically comes into play once the first size feels comfortable and predictable.
The label itself is not a medical term. It is practical shorthand used by clinicians, pelvic floor physical therapists, and product makers to describe where an image of the purple wand: it is sits in a progression. Some sets print numbers, some print colors, and some use codes like P1, P2, P3.
What matters is not the code but the principle behind it. Gradual dilation is about teaching tight or guarded muscles that insertion can be safe, one small step at a time. For a fuller decode of the abbreviation, see our article on what P2 means in pelvic health.
A Clear P2 Definition and How It Fits Size Progression
Here is the clearest P2 definition I can give: P2 is the second dilator size in a graduated set, used after the smallest size has become comfortable, as part of a paced stretching routine. It is a milestone, not a target.
Dilation works through repetition and calm. You are not stretching to a number on a schedule; you are giving guarded muscles repeated, gentle evidence that penetration does not have to hurt. Each size is a small increase in diameter, so your body is not asked to do too much at once.
In practice, P2 might be right for you in a few weeks, or it might take months. Both are normal. There is no prize for moving fast, and no failure in staying on a smaller size longer.
Why Gradual Progression Matters
Progression matters because the pelvic floor muscles respond to threat, not to force. When insertion feels painful or frightening, the muscles guarding the vaginal opening can tighten reflexively, which makes the next attempt harder and reinforces the fear. A slow, predictable progression interrupts that cycle.
Pelvic health guidance from organizations such as the American College of Obstetricians and Gynecologists consistently frames dilation as one part of care for conditions like vaginismus and genitourinary syndrome of menopause, alongside clinical assessment and, where appropriate, pelvic floor physical therapy. That framing matters: dilation is a tool, not a cure, and it works best when it is paced and supported.
Small increments also let you notice what your body is telling you. A jump that is too big produces pain and discouragement. A jump small enough produces a quiet "oh, that was fine" moment, and those moments build confidence faster than any schedule.
Signs You Are Ready for the Next Step
You are ready for the next size when the current one feels comfortable, predictable, and low-stress, not merely tolerable. That distinction is the whole game.
A practical checklist helps. Move up only when:
- The current size inserts easily with gentle pressure and no pain
- You can leave it in place for the time your clinician or therapist suggested without discomfort
- You are not bracing, holding your breath, or rushing to get it over with
- The idea of trying the next size feels neutral or curious, not frightening
- You have had several calm, uneventful sessions in a row
If you are gritting your teeth through the current size, stay there. Discomfort is a signal to slow down, not a hurdle to push through.
How to Build a Comfortable Dilation Routine at Home
A comfortable routine is short, calm, and repeatable. Most people do better with brief, low-pressure sessions a few times a week than with long, ambitious ones that leave them sore or anxious.
Here is the structure I suggest when someone is working with P2 or any size in a graduated set.
Set the scene first. Choose a private space where you will not be interrupted, and give yourself more time than you think you need.
Warm up before anything goes in. Spend two to three minutes on slow breathing with a long exhale, and gently relax your jaw, shoulders, and belly. Many people hold tension in the pelvic floor without realizing it, and a short breathing warm-up lets those muscles release before you ask anything of them. This is the step most guides skip, and it changes how the whole session feels.
Insert only to gentle pressure. Use a generous amount of water-based lubricant on both the dilator and the opening.
Keep sessions short. A few minutes of gentle insertion and holding is a complete session. You do not need to leave the dilator in long to make progress.
Finish calmly. Withdraw slowly, rinse the dilator according to the manufacturer's instructions, and notice how you feel.
A few patterns I have seen come up again and again:
- Treating dilation like a workout to conquer tends to backfire. It is closer to a calm conversation with your body.
- Consistency beats intensity every time. Three gentle sessions a week will do more than one heroic attempt.
- Progress is rarely a straight line. A size that felt fine last week can feel tight this week, and that is normal, not a sign you have gone backward.
Watch out: pushing through sharp pain or continuing when you feel panicky can make the muscles guard harder and set your progress back. For more on pacing and positioning, see our guide on comfortable penetration with a tight vagina.
Which VuVa Magnetic Dilator Set Should You Start With?
VuVa sets come in progressive sizes, and choosing the right starting point makes the whole process less intimidating. Size 1 has no magnet and serves as the smallest starting point.
If you are brand new to dilation or feel anxious about insertion, the smaller beginner progression is usually the kindest place to start. If you have been able to insert a tampon with relative ease and are mainly working on comfort, the intermediate range is often a practical fit, and it is our best-selling set: VuVa Neodymium Magnetic Set, sizes 3, 4, 5, and 6.
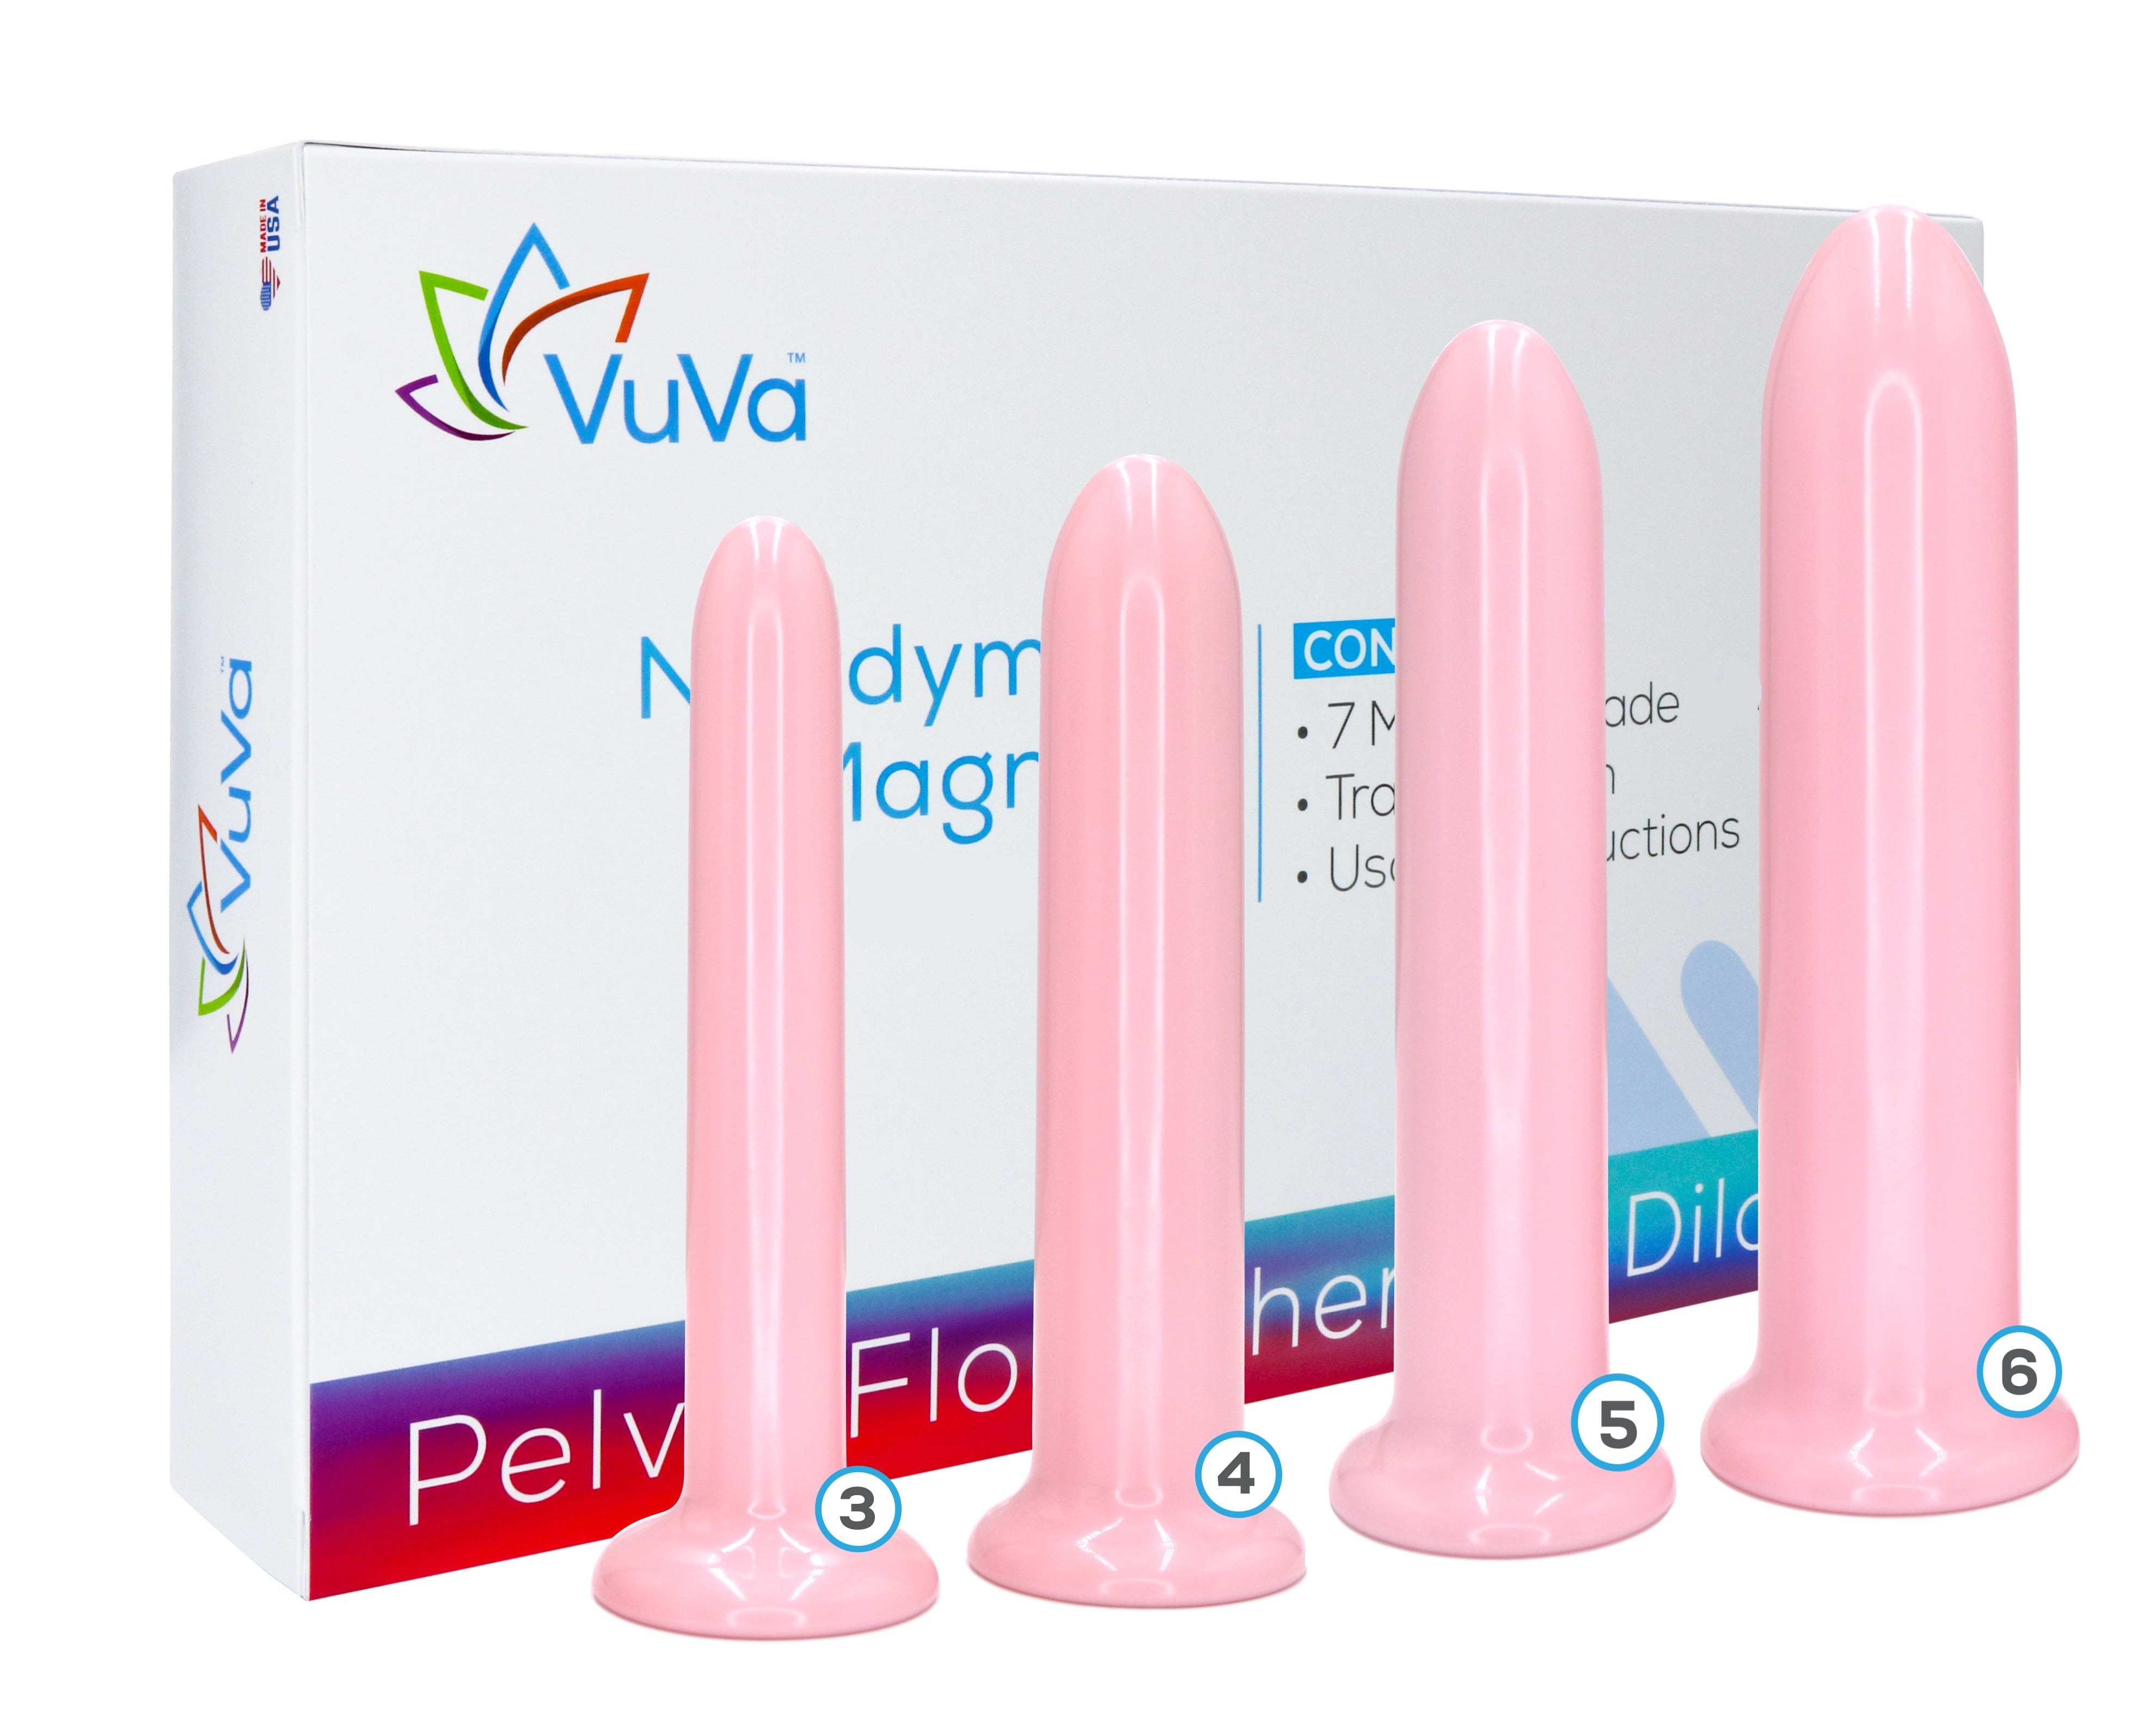
Start with the smallest size you can use comfortably, and never force insertion. You can compare diameters on the VuVa dilator size charts before you choose. If you want a dedicated walkthrough of the second size specifically, see our explainer on the dilator size that comes second.
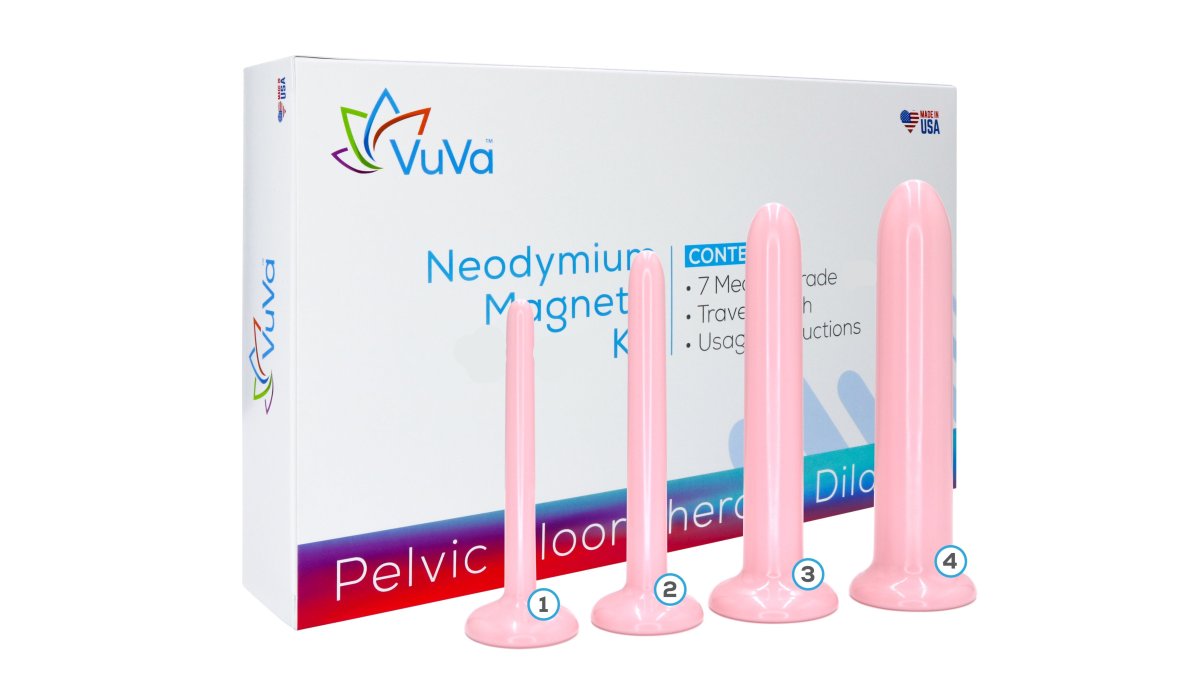
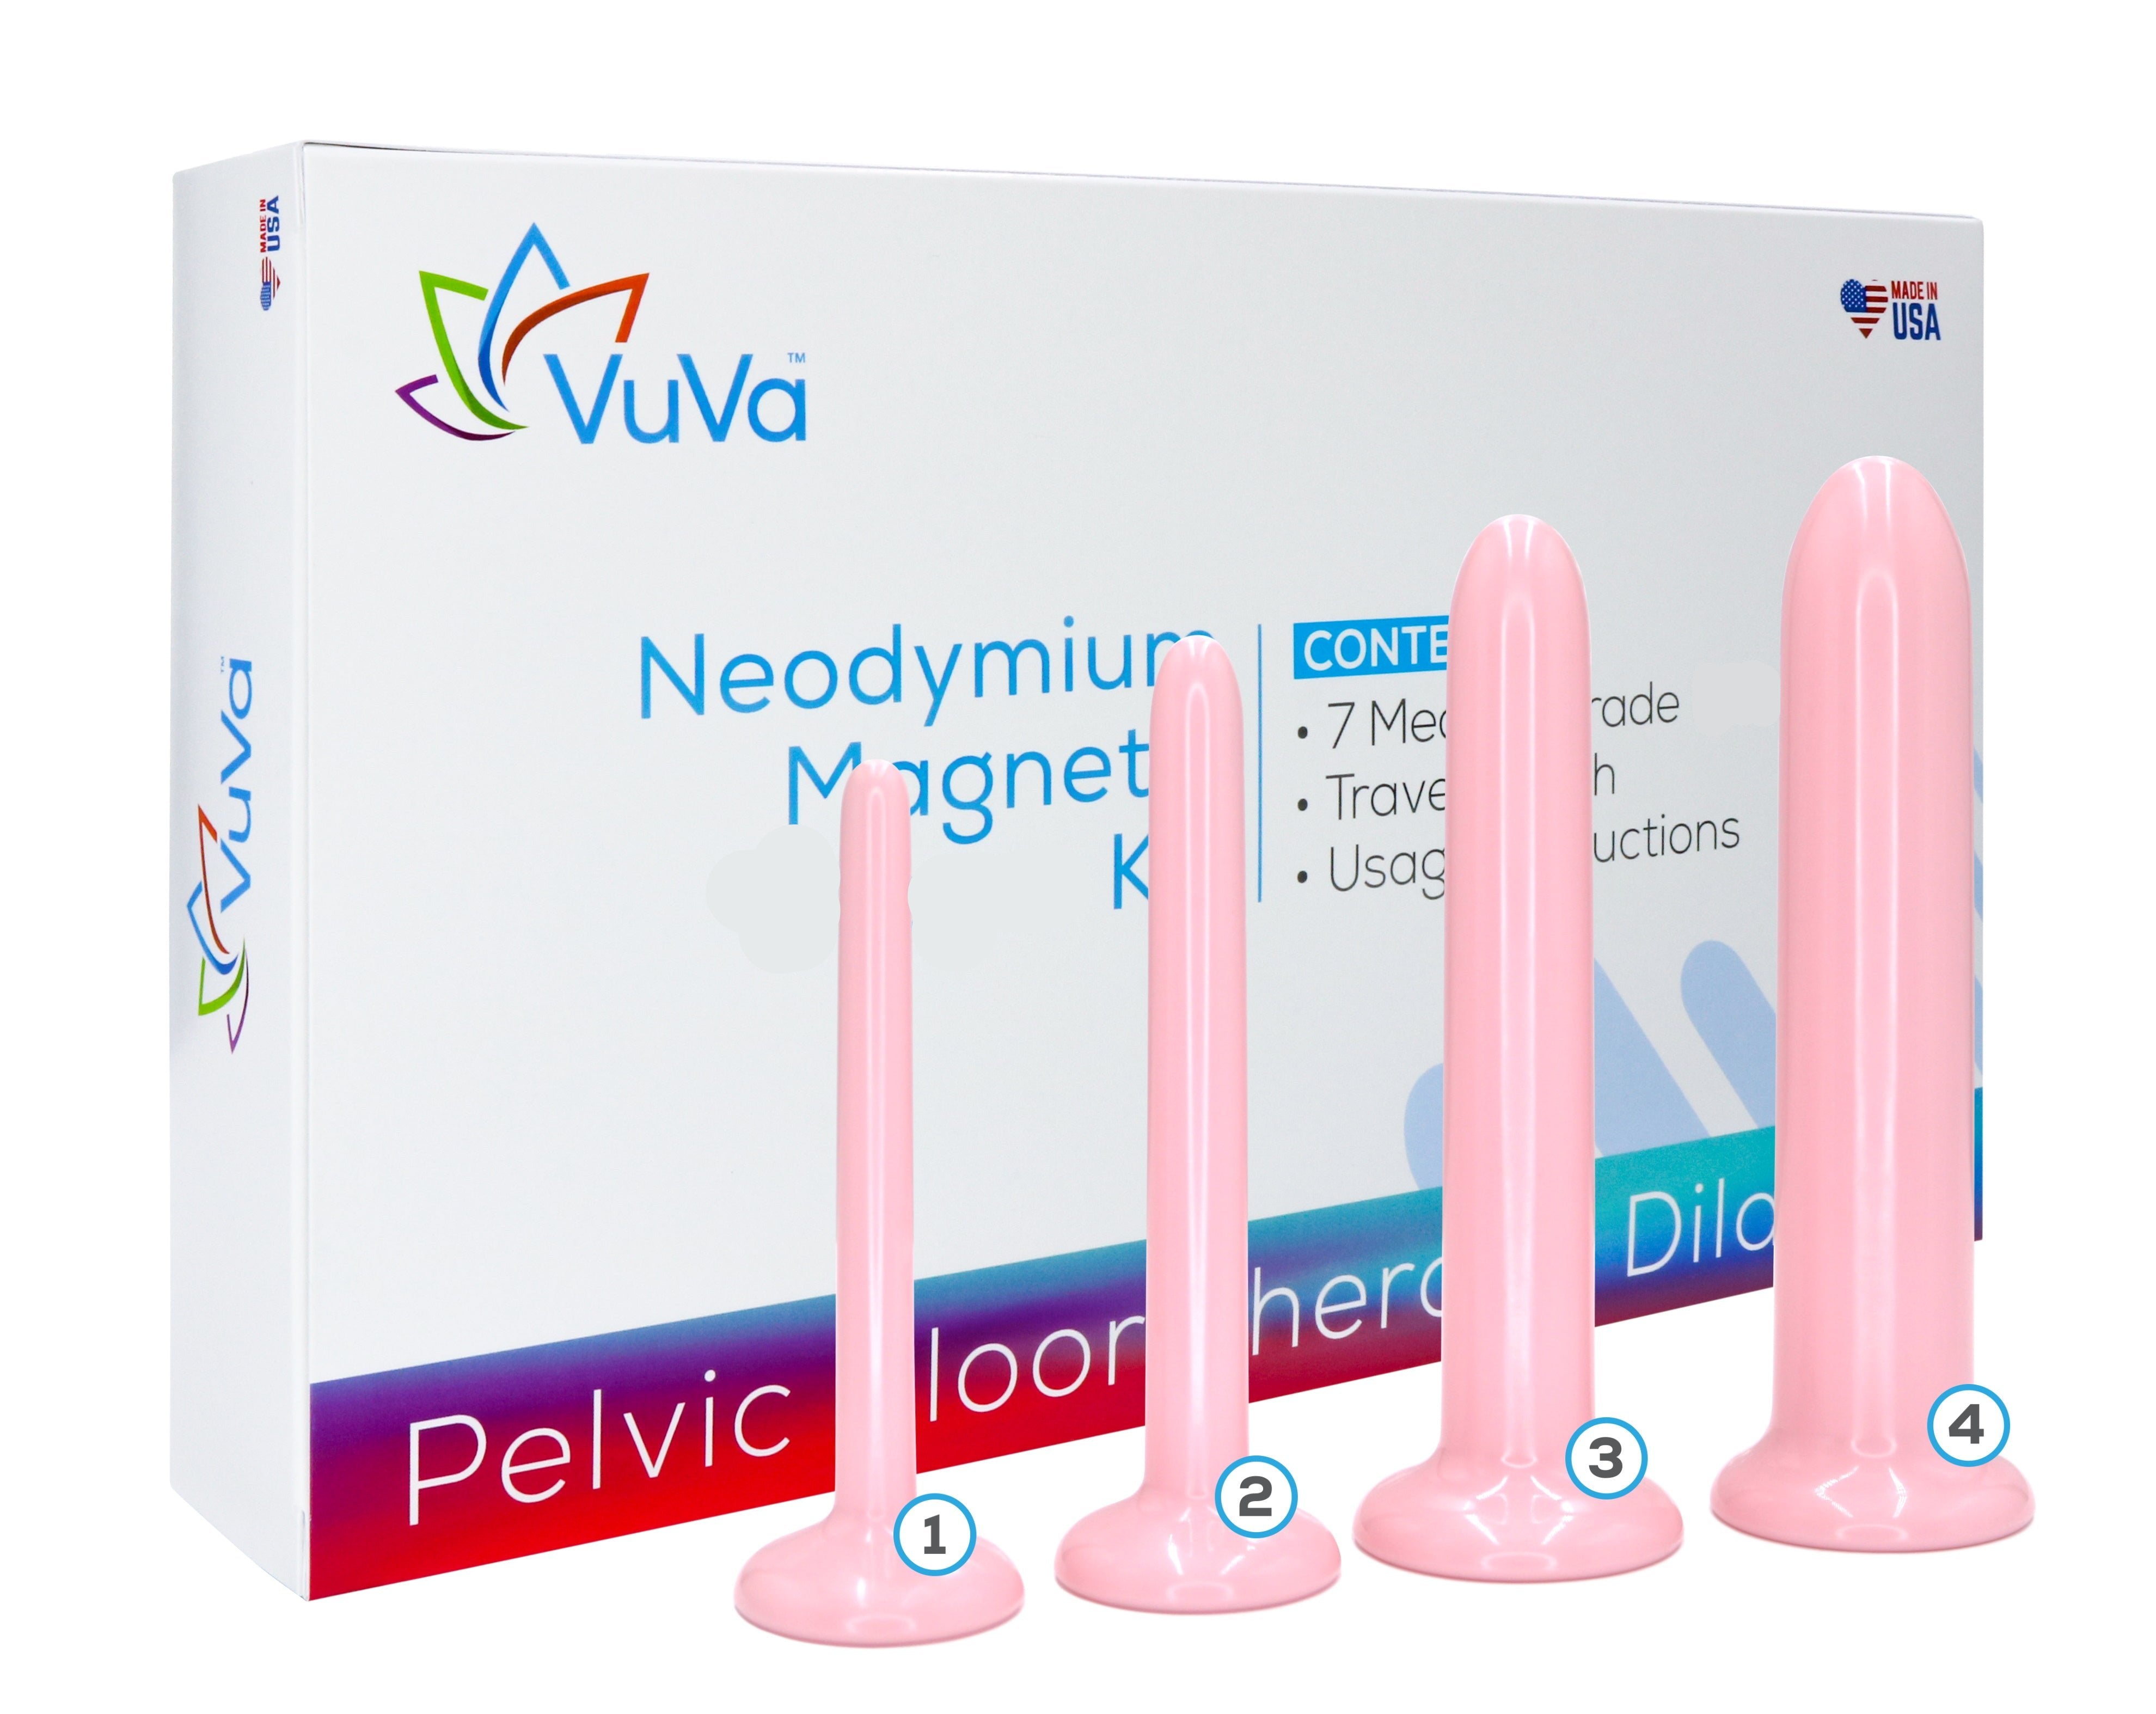
Here is how the VuVa size ranges break down so you can pick a starting point.
| Size range | Best for | Note |
|---|---|---|
| Size 1 | Smallest starting point | Has no magnet |
| Sizes 1 through 4 | Smaller beginner progression | Kindest place to start if new or anxious |
| Sizes 3 through 6 | Intermediate range | Best-selling set; practical if tampons insert with ease |
| Sizes 5 through 7 | Larger progression | For later stages of progression |
| Full Set 1 through 7 | Broadest range | Room to progress without ordering again |
When to Pause and Talk to a Clinician
Dilation is a self-care tool, not a diagnostic one.
Involuntary pelvic floor tightening. When the muscles around the vaginal opening guard reflexively, insertion can feel blocked or painful even when you want it to work.
Vulvodynia and vestibulodynia. These involve pain at the vulva or vaginal opening not explained by infection or injury.
Infection and skin conditions. Burning, itching, unusual discharge, or a new rash can point to infection or a skin condition that needs treatment before dilation makes sense.
Other causes. Pelvic radiation, certain medications, scar tissue, and other medical conditions can all affect comfort with insertion.
Reach out promptly if you experience:
- Unexplained bleeding, or bleeding after insertion
- Burning, itching, or discharge that suggests infection
- Pain that persists for hours after a session
- New numbness or significant swelling
- Pain that is sharp, worsening, or different from what you have felt before
If you have an implanted electronic medical device, such as a pacemaker or insulin pump, talk with your clinician before using any magnetic product.
A good clinician will take your pain seriously and help you build a plan that fits your situation.
Finding Your Comfortable Starting Size
Your starting size is the smallest dilator you can use with gentle pressure and no pain, and for many people that is size 1. There is no benefit to starting larger to "catch up." Beginning at a size that feels safe builds the confidence that makes progression possible.
If you are unsure where to begin, the Starter Size 1 dilator is a low-pressure way to establish a comfortable baseline before moving toward P2 and beyond. Use it until insertion feels comfortable, then consider the next size up.
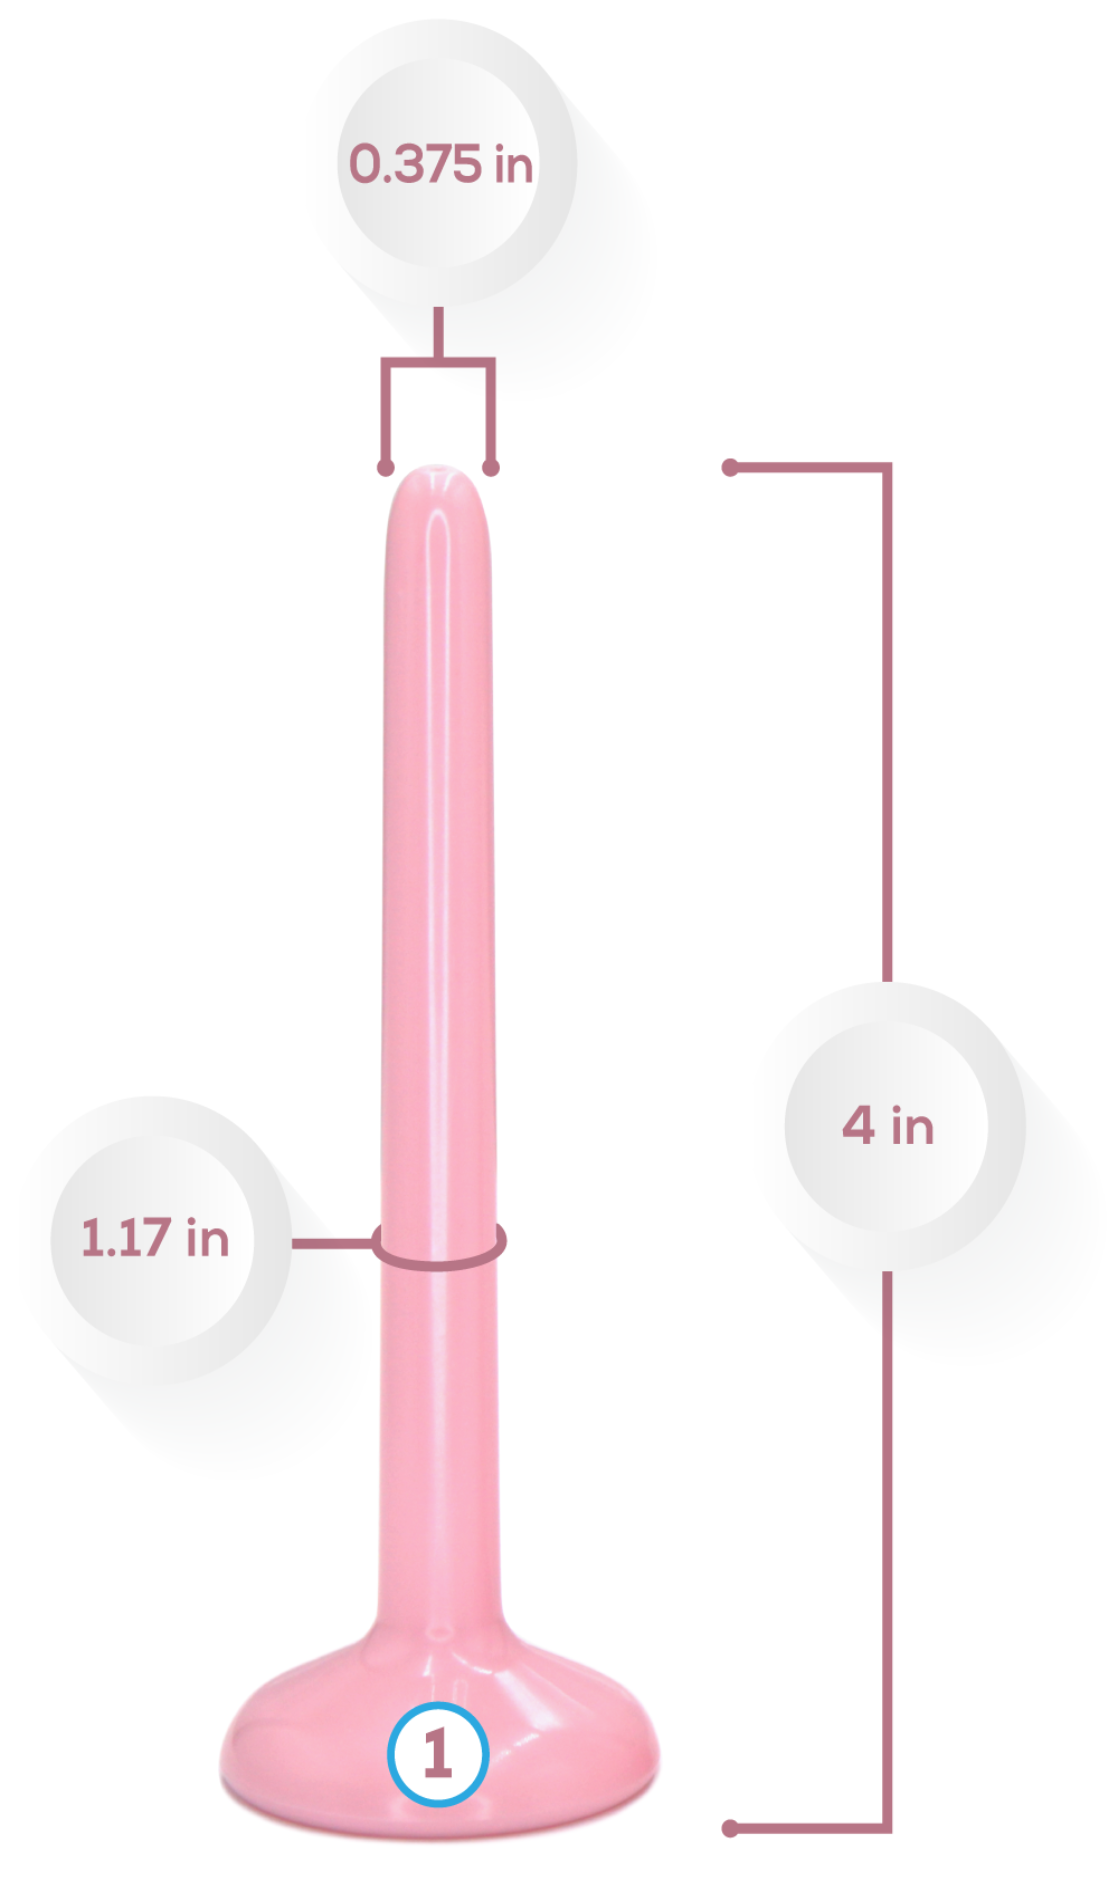
Learning to read your body's signals around dilation takes time, and the labels on an image of the purple wand: it is set should never make you feel behind.
Not sure where to start? Explore VuVa Magnetic Dilator sets and find a comfortable starting size.
Frequently Asked Questions
What does P2 mean in the context of pelvic floor dilation?
In dilation care, P2 meaning is simply a shorthand label for a point in a progressive sizing routine, usually the second step or size in a sequence. It is not a diagnosis and not a medical grade. If you see P2 on a product page or in a therapy plan, ask your clinician or the product's size chart to confirm exactly which size it refers to, since labels vary between providers.
Is P2 a medical term I should look up in a textbook?
No. P2 is not a standard clinical diagnosis or a term you will find defined in gynecology guidelines. It is more often an internal label used in product listings, therapy handouts or forums to describe a step in a size progression. The clinical terms that matter are vaginismus, vulvodynia, genitourinary syndrome of menopause and pelvic floor dysfunction. Ask a clinician if a label is unclear.
How do I know when to move to the next size in a dilation routine?
Move up only when the current size can be inserted and worn comfortably, without forcing, and usually after several calm sessions. Discomfort that settles quickly is different from sharp pain or tearing, which means stop and check in with a pelvic floor physical therapist or doctor. Never push through significant pain, and never skip sizes to speed things up.
Can I start with just one dilator instead of a full set?
Yes, many people start with a smaller set rather than the full range. VuVa's Sizes 1-4 set is designed as a beginner progression, while Sizes 3-6 suits people who can already insert a tampon with ease. Start with the smallest size you can use comfortably, and remember that Size 1 has no magnet even when it comes inside a magnetic set. A size chart can help you compare diameters before buying.


